
What the completed piece demonstrates
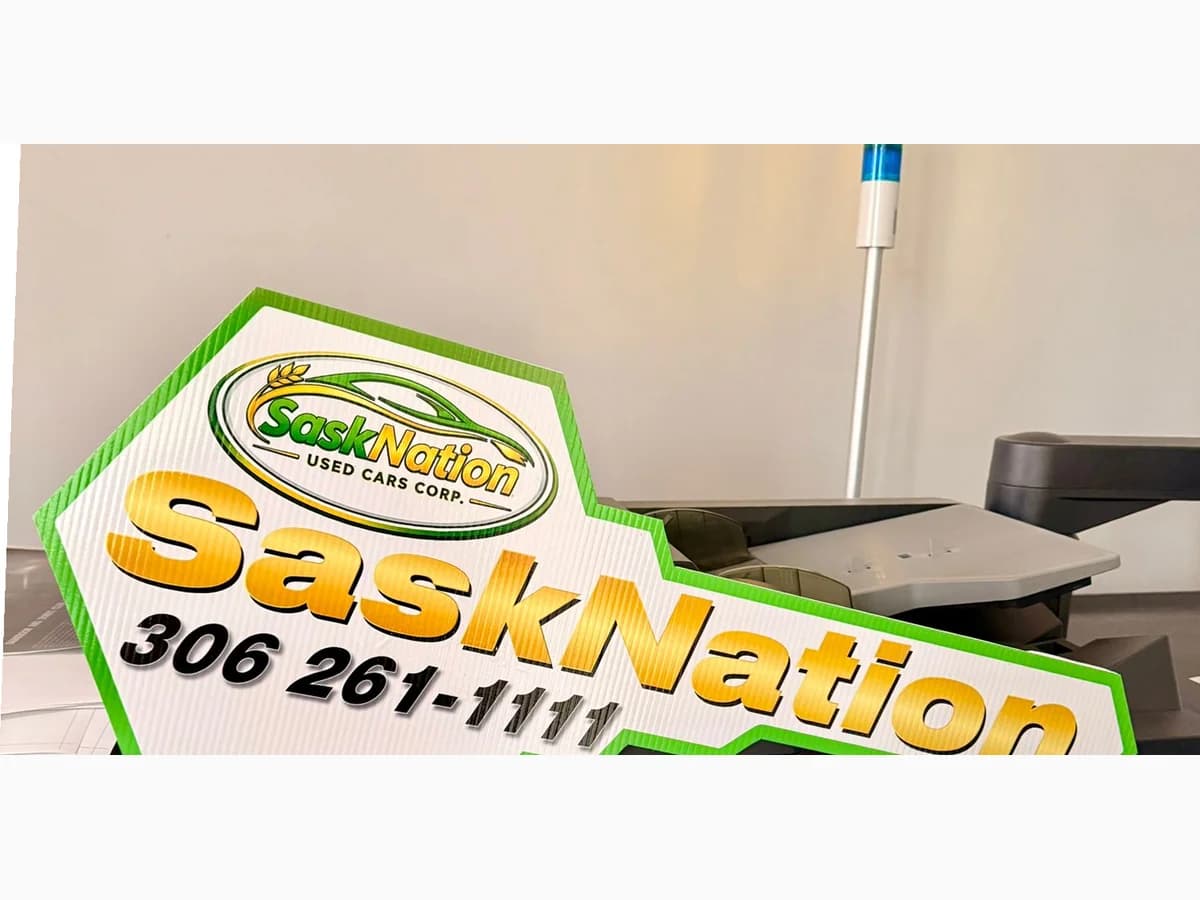
The original project image documents a completed key-shaped coroplast sign. The repository’s public project schedule identifies it as a printed, CNC-cut giveaway sign. Those two facts are enough to explain the production idea without guessing at the order quantity, schedule, event result, or customer approval. The useful lesson is the relationship between the silhouette and the graphic: the object reads as a key before a viewer studies the smaller printed details.
A custom outline changes the design problem. On a rectangular sign, the trim is usually a neutral boundary around the message. On a die-cut sign, the boundary becomes part of the message. The key head, shoulder, shaft, and teeth need to remain recognizable after printing and cutting, while the internal graphics still need enough uninterrupted space to read. That makes contour planning an early artwork decision rather than a finishing note added at the end.
Plan the contour and the printed face together
Start with a clean silhouette that can be understood at the intended viewing distance. Avoid tiny exterior notches or fragile projections unless the shop confirms they suit the chosen material and final size. The repository supports coroplast as 4mm corrugated polypropylene and describes the active custom-shape product as plotter-cut rigid signage. It does not publish a minimum corner radius or cut tolerance, so this article does not prescribe one. Ask for contour review when the shape depends on fine details.
Keep the cut contour distinct from printed artwork. A production file is easier to interpret when one vector path clearly describes the outer shape and the artwork sits beneath it. Do not use a soft shadow, photo edge, or coloured background as the only indication of where the cut should happen. If there are internal holes, slots, or separate pieces, call them out explicitly and confirm feasibility before treating them as approved production details.
The visible project uses the broad upper area of the key shape for the main graphic and leaves the narrow shaft comparatively simple. That is a practical pattern: allocate detailed content to the largest stable area of the silhouette, then use narrow extensions to reinforce the object rather than carry essential copy.
Choose material and handling around the use
Coroplast is lightweight, waterproof, and available as single- or double-sided print according to the active product specifications. Those properties make it a useful candidate for handheld props, event pieces, directional shapes, and short-term promotional signs. Lightweight does not mean every outline behaves the same way. Long narrow extensions, large unsupported areas, or complex handling can change what makes sense, so share the intended use instead of submitting only a contour with no context.
If the piece needs greater rigidity or a longer-term mounted application, compare the active aluminum composite option. ACP is listed as a 3mm panel with aluminum faces and a polyethylene core, with indoor and outdoor use supported in the product data. The right choice depends on mounting, handling, exposure, and shape—not on a generic claim that one material is always better.
A practical submission checklist
Provide the intended finished dimensions, a vector contour, the print artwork, and a short note explaining how the piece will be used. Identify which face is front and whether the reverse is blank, repeated, or different. If the graphic contains a logo or small text near the edge, leave room for contour review rather than assuming an unpublished safety distance.
Review a proof for both content and shape. Check spelling and contact details, but also trace the outer edge with your eye. Look for accidental spikes, flat spots, uneven symmetry, or artwork that becomes cramped where the silhouette narrows. A good custom-shape proof should make the finished object easy to imagine before material is cut.
For a similar coroplast concept, start with the custom-shape sign configurator. For a standard rectangular panel that does not rely on a contour, use the coroplast sign configurator instead. Both paths lead to current product choices and exact live pricing without embedding a stale project price in this completed-work record.