

18×24 SVG artwork file
Exact final dimensions with clearly labelled trim and configurable reference guides. Confirm production tolerances before using any guide as a safety boundary.
What is inside the file
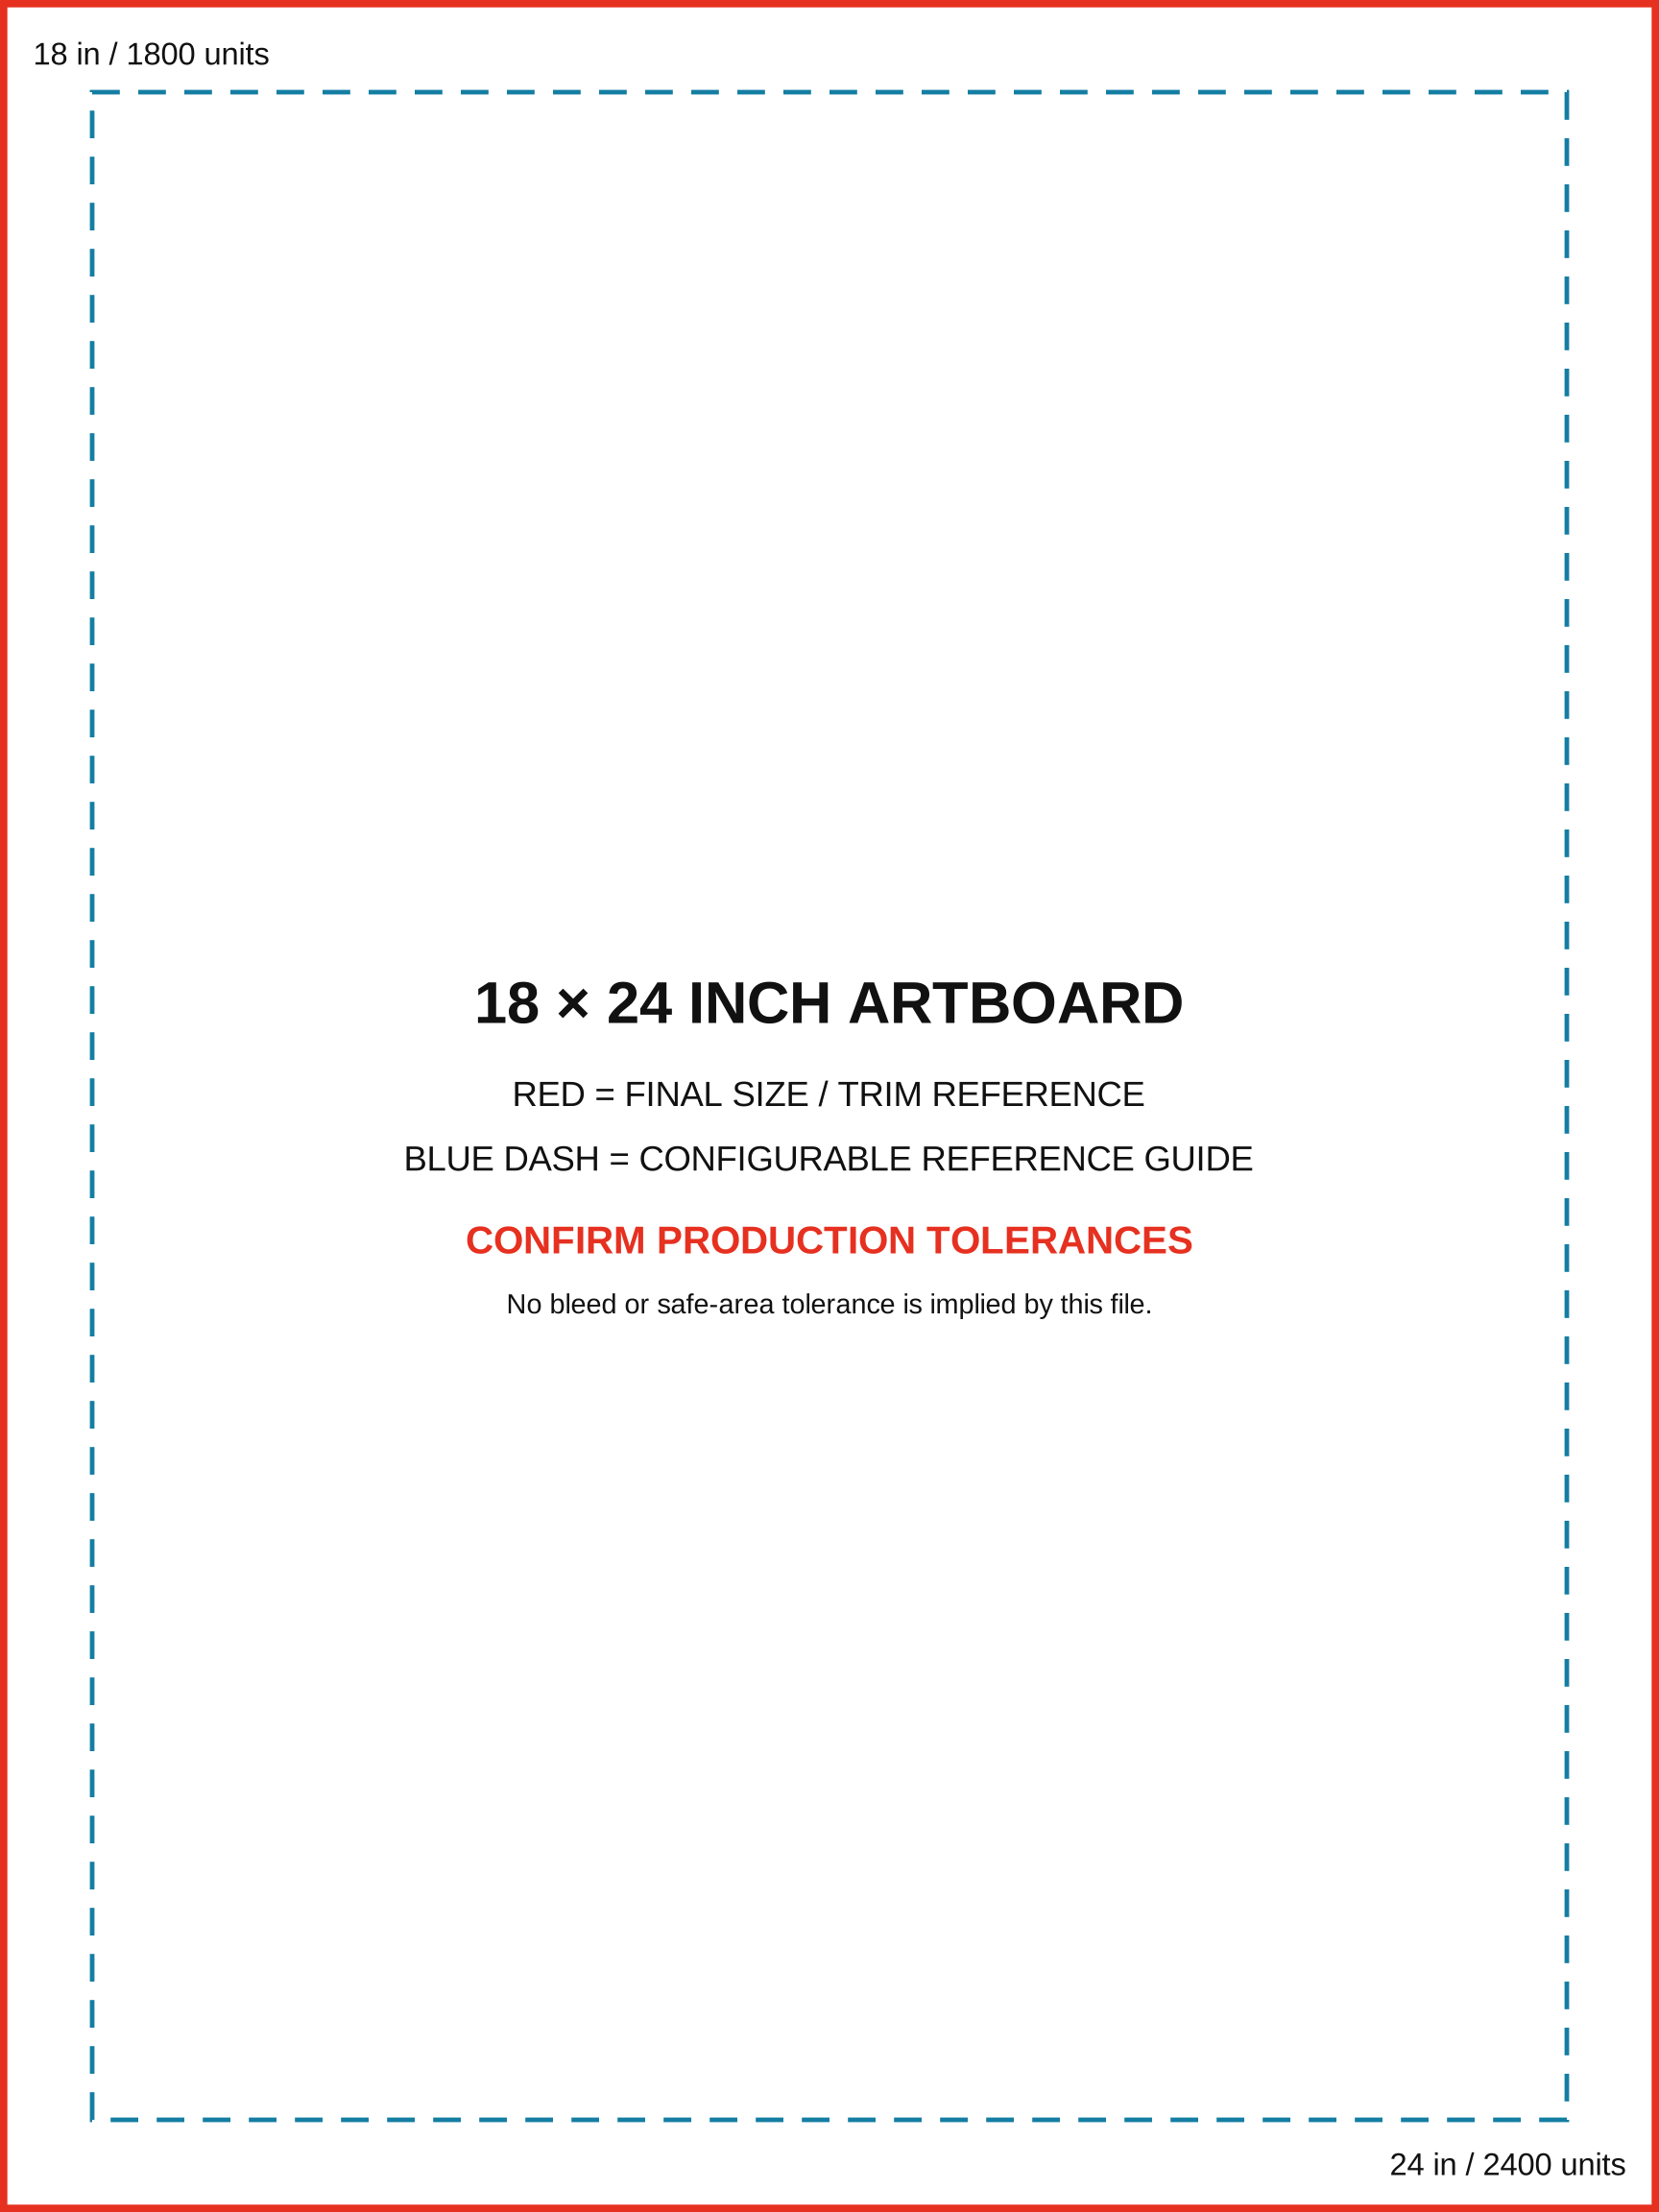
The downloadable file is an SVG with an 18-inch width, a 24-inch height, and a proportional 1800 by 2400 viewBox. That makes the document dimensionally explicit without locking you into one design application. SVG files can be opened by many vector editors and placed into a larger production document without losing the underlying paths and text guides.
The outer rectangle identifies the 18×24 trim size. The inner dashed rectangle is deliberately labelled as a reference guide, not a promised safe area. True Color’s product data confirms 18×24 inches as a standard coroplast preset, but the repository does not publish a universal bleed or safety tolerance for this product. For that reason, the template does not invent one. Move or replace the reference guide to suit the finishing plan, and confirm the production tolerance before relying on it.
Build the artwork in the right order
Begin with the message hierarchy. Put the action a viewer needs to take first, then the supporting detail, then any secondary identifier. A directional sign may need an arrow and one destination. A yard sign may need a short headline and contact detail. Trying to fit a brochure onto an 18×24 panel usually makes every element weaker, even when the file itself is technically correct.
Set the document to the final 18×24 size before laying out type or images. Keep the background separate from text and logos so revisions remain manageable. If the sign will use an H-stake, remember that the coroplast product is 4mm corrugated polypropylene and the product guidance says its flutes run vertically for stake insertion. Confirm orientation with the shop when the layout or cut shape makes flute direction important.
- Use the red outer line as the final-size reference, not as printable artwork.
- Treat the dashed inner guide as configurable reference only.
- Keep logos and text as vector shapes where your workflow permits.
- Check that linked images remain available when the file is packaged or exported.
- Remove or hide instructional layers before exporting final print artwork.
Preflight before upload
Review the design at full size and at a distance. At full size, inspect edges, alignment, image quality, and unintended objects outside the trim. At a distance, check whether the primary message still wins. Thin type, long web addresses, low-contrast colour pairs, and crowded logo arrangements can all survive a file check while failing as signage.
Confirm whether the order is single- or double-sided. The active coroplast configurator supports both choices, so artwork for a second face should be clearly named and oriented. If the two sides differ, label them rather than assuming production will infer the order. Also identify whether the panel remains rectangular or needs a custom cut, because cut paths require a separate production conversation.
Do not bake the template notes into a flattened background. A clean submission contains the artwork the customer wants printed, plus clearly separated production notes when needed. When uncertainty remains, send the editable file or a proof PDF and ask the shop to confirm the trim, guide, finishing, and orientation before production.
Choose the matching order path
Use the coroplast sign configurator for a standard rectangular 18×24 panel. It exposes the supported size, side, quantity, and available finishing choices in one place, so the current order details come from the live product configuration rather than a copied claim on this guide.
Use the custom-shape sign path when the artwork depends on an outline rather than a rectangle. The source product describes custom-shape signs as plotter-cut rigid signage and lists coroplast among the material choices. Prepare the visible design and the intended contour as separate, unambiguous elements, then confirm the cut path before placing the order.